Auto Track
| PTZ Auto Tracking |
|---|
| Set Up |
| Set Up PTZ Auto Tracking on your device using various interfaces. > How To Set Up PTZ Auto Track |
Contents
Instructions
Description
- Disclaimer - Auto Tracking and Panoramic view will not work simultaneously
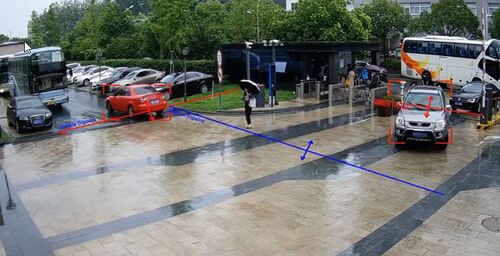
PTZ tracking is an innovative feature that transforms manually controlled PTZ cameras into automated tracking systems that keep an moving object in focus and centered in the frame. It follows the object where stationary cameras would lose the object once out of the fixed cameras field of view.
Prerequisites
- IVS and Auto-Tracking Capable PTZ -Model will end with an, "I" Example: SD6AE230F-HNI
Video Instructions
Step by Step Instructions
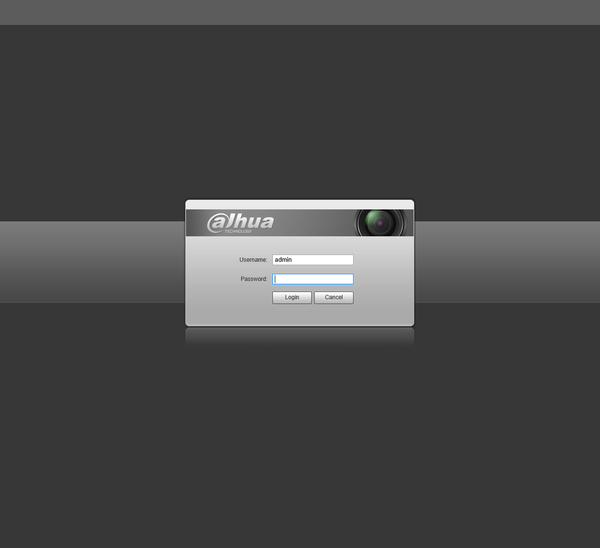
1. Login to your PTZ's web interface.
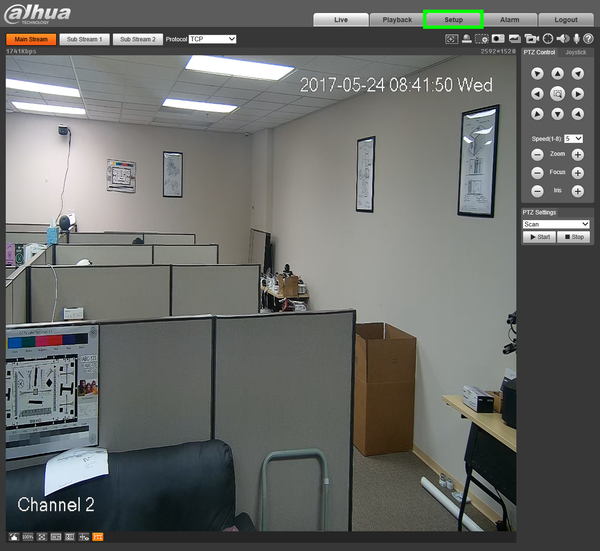
2. Click, "Setup"
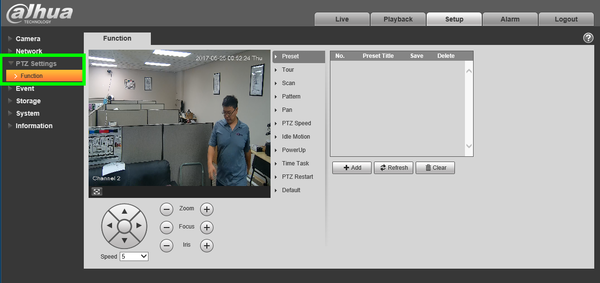
3. Click, "PTZ Settings" then, "Function"
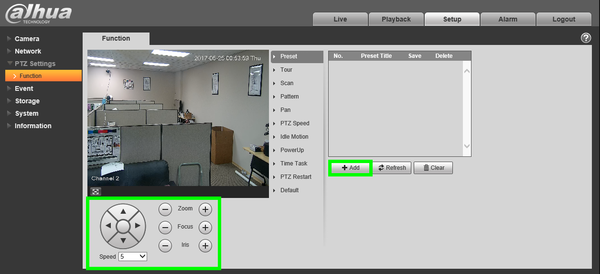
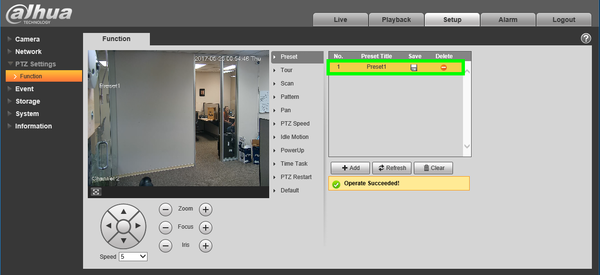
4. Click, "Preset" and use the arrows to position the camera in the desired position for your first preset, click, "Add" then click the save icon. Repeat for as many preset locations as you wish.
5. Click, "Save"
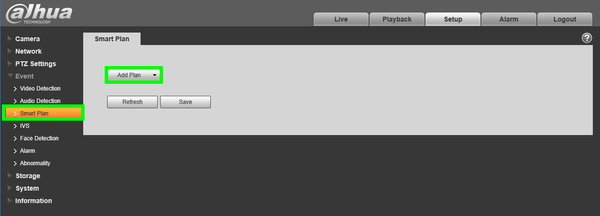
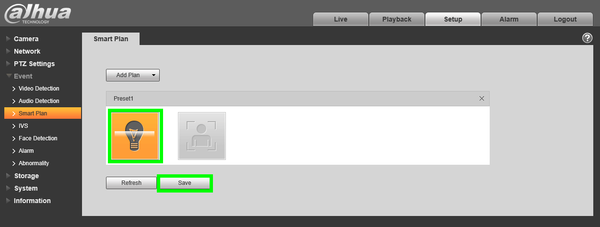
6. Click, "Event" then click, "Smart Plan"
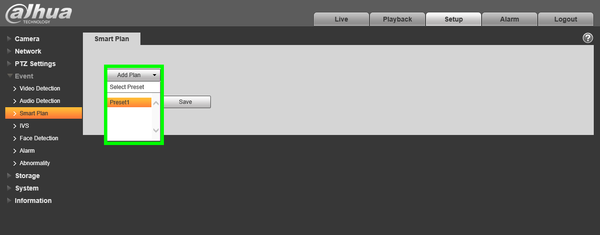
7. Click, "Add Plan" and select the preset you wish to establish with an IVS rule.
8. Select, "IVS" for the corresponding presets, and click, "Save"
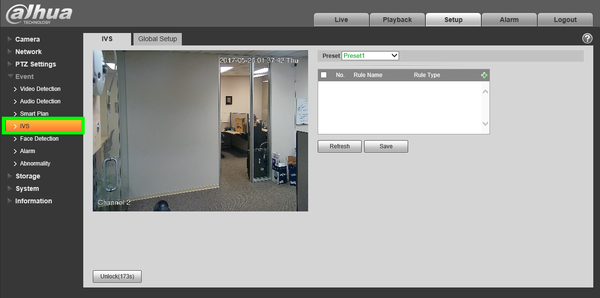
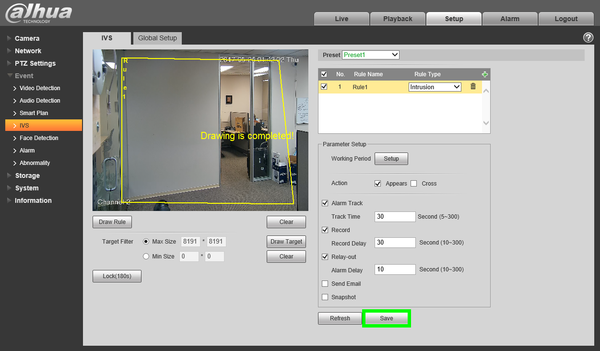
9. Under, "Event" click, "IVS"
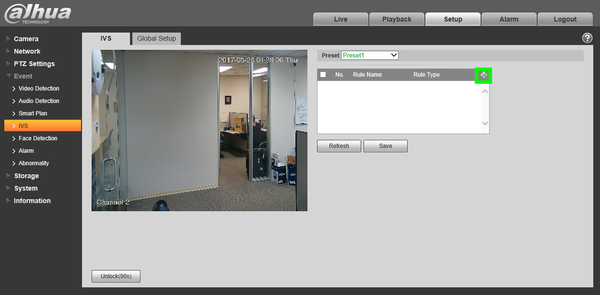
10. Click the plus sign in the upper right to add the IVS rule.
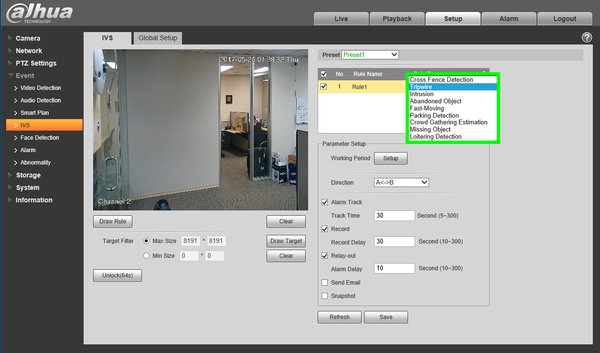
11. Select the rule type in the drop down menu.
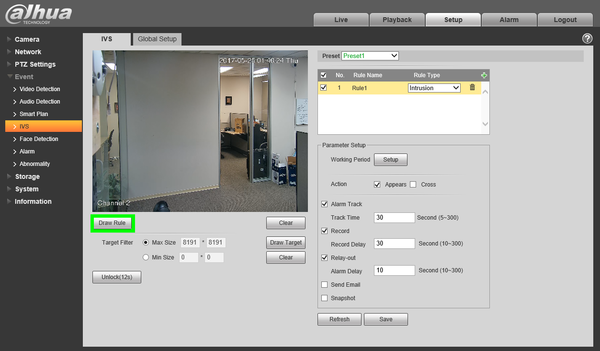
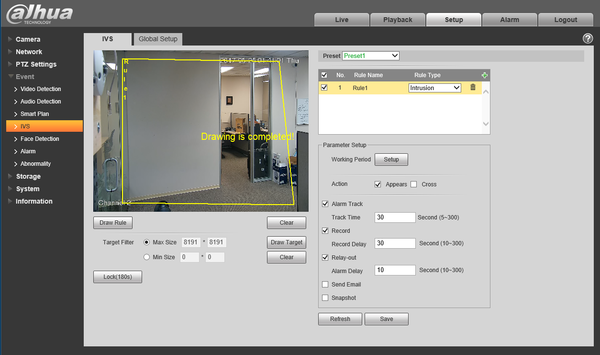
12. Click, "Draw Rule" and, using left-click, draw the region you wish to establish for the IVS rule. To finish drawing the rule, right click.
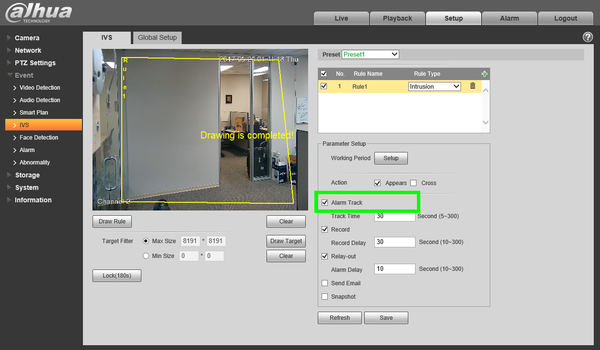
13. Check the box next to, "Alarm Track"
14. Click, "Save"
Description
This Article will cover the setup of IVS Auto Tracking using an N52B3P and a 59430UNI Network PTZ.
Prerequisites
- An NVR using the new Black interface.
- a PTZ Model that supports IVS Auto Tracking.
- Established Presets in the PTZ.
- A Windows PC on the same network as the NVR.
Video Instructions
Step By Step Instructions
Note: In order to set up IVS auto Tracking a preset will need to be created in the camera prior to set up. In in this guide it will be assumed that a preset exists already, for assistance on how to set up a preset, visit PTZ Setup
1. From the main page of the recorder web UI, select AI as shown in the image below, and choose Parameters in the left-hand menu.
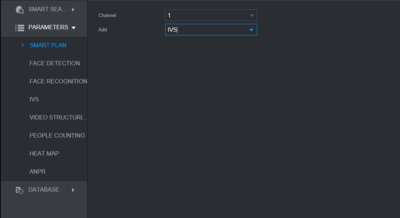
2. Under Parameters, select Smart Plan in this section define the PTZ channel as well as the preset which can be set through the Add drop down. Once camera and preset have been set, be sure to click OK in the bottom right to save.
3. Next, select IVS under parameters and use the + to add a rule, this example will be using Intrusion with both Appear and Cross selected. Direction will be set to both which will use both options of Enter & Exit. Click OK to save.
