SmartPSS/How To Use PTZ Scan in SmartPSS
Contents
NOTICE
Notice of Discontinuation of SmartPSS
How To Use PTZ Scan In SmartPSS
Description
This article will show you how to setup and use PTZ Scan in SmartPSS 2.0
Prerequisites
- SmartPSS
- PTZ Camera.
- PTZ added to SmartPSS Device List - How To Add Device to SmartPSS
Video Instructions
Step by Step Instructions
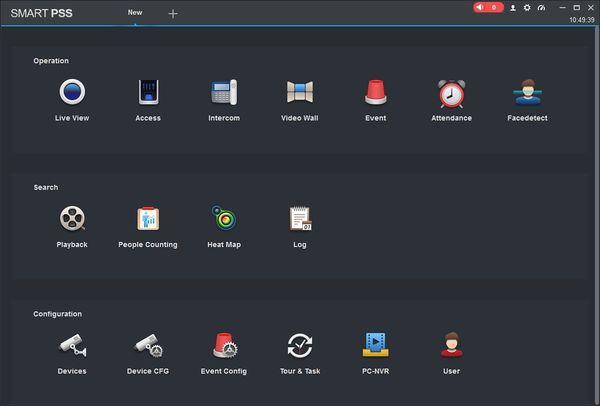
1. Launch SmartPSS.
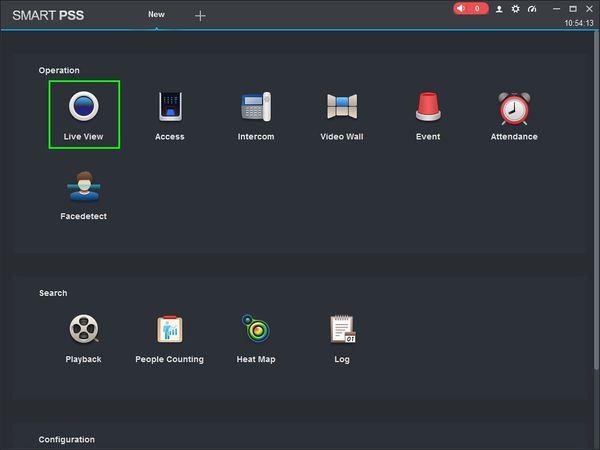
2. Click 'Live View'
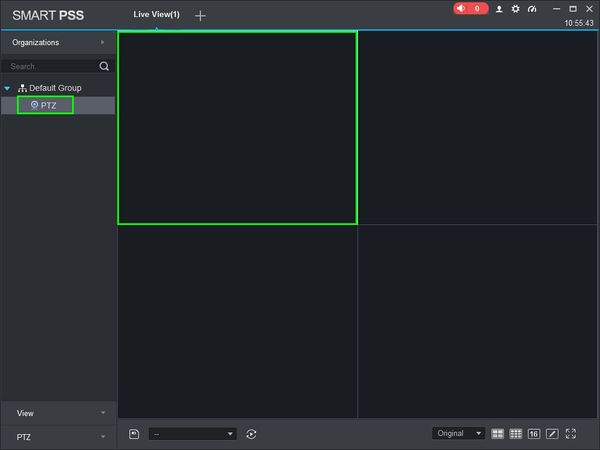
3. Double Click the PTZ on the device list on the left side of the screen, then double click the video pane to bring the feed up in full screen
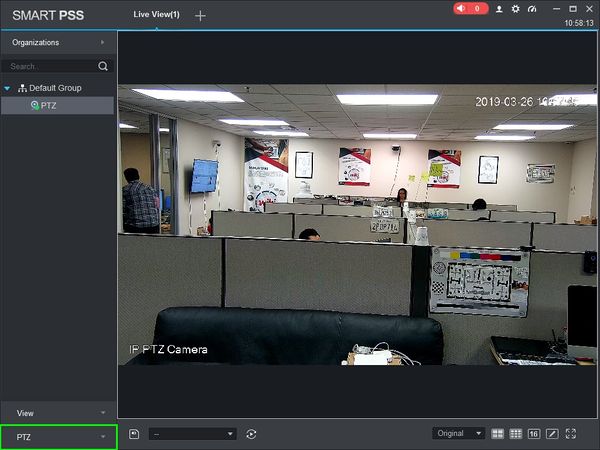
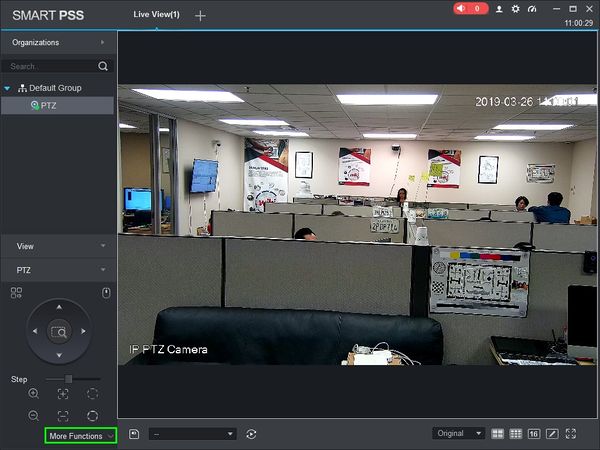
4. Click 'PTZ'
5. Click 'More Functions' in the lower portion of the screen
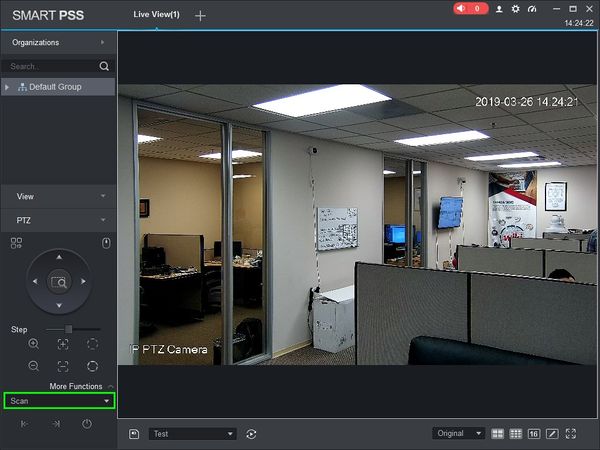
6. Use the drop-down box to select 'Scan'
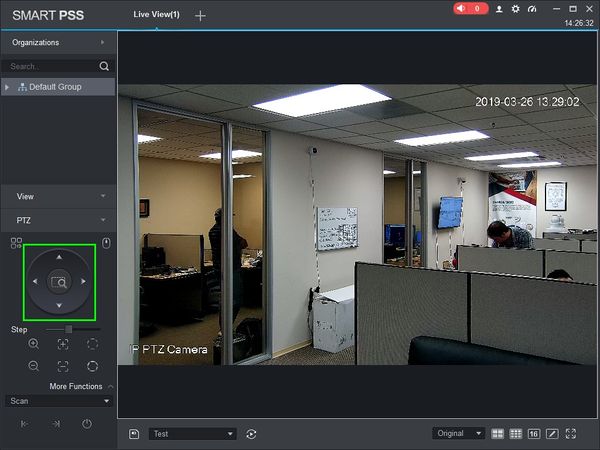
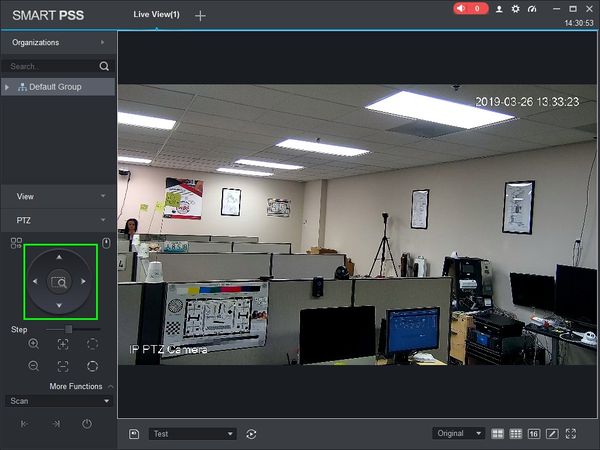
7. Use the on-screen controls to move the PTZ to the desired Left position for the Scan.
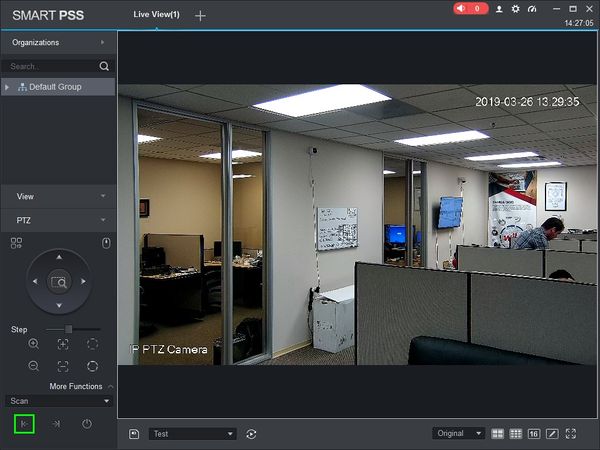
8. Click the 'Set Left' icon to save the left position.
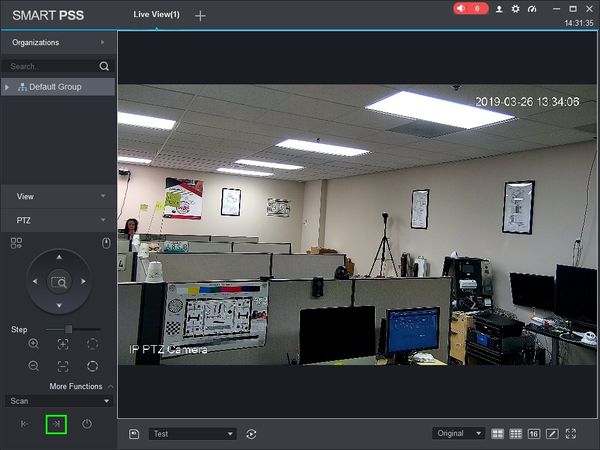
9. Use the on-screen controls to move the PTZ to the desired Right position for the Scan.
10. Click the 'Set Right' icon to save the right position.
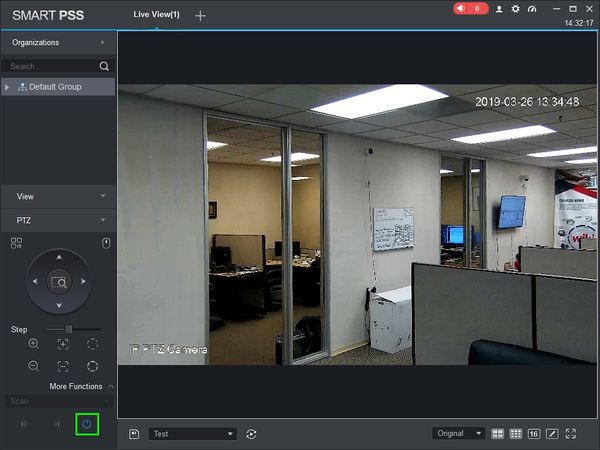
11. Click 'Start Scan' to begin the scan. The scan will continue until 'End Scan' is clicked.
