Difference between revisions of "PTZ/Instructions/Pan"
(Created page with "=Pan= ==Instructions== <div class="toccolours mw-collapsible mw-collapsed"> 250px<span style="font-size:180%;">'''SystemUI Old'''</span...") |
|||
| (12 intermediate revisions by 3 users not shown) | |||
| Line 1: | Line 1: | ||
=Pan= | =Pan= | ||
| + | __NOTOC__ | ||
| + | ==Description== | ||
| + | The Pan feature allows the PTZ to move between two pre-established points. | ||
| + | |||
| + | ==NOTE== | ||
| + | Please Note: PTZ Pan is currently not available on the following interface: | ||
| + | *Mobile: iDMSS/gDMSS | ||
| + | |||
==Instructions== | ==Instructions== | ||
<div class="toccolours mw-collapsible mw-collapsed"> | <div class="toccolours mw-collapsible mw-collapsed"> | ||
[[File:Icon_for_type_SystemUI_Old.png|250px]]<span style="font-size:180%;">'''SystemUI Old'''</span> | [[File:Icon_for_type_SystemUI_Old.png|250px]]<span style="font-size:180%;">'''SystemUI Old'''</span> | ||
| − | <div class="mw-collapsible-content">{{Template: | + | <div class="mw-collapsible-content">{{Template:PTZ_Pan_SystemUI_OldGUI}}</div> |
</div> | </div> | ||
<div class="toccolours mw-collapsible mw-collapsed"> | <div class="toccolours mw-collapsible mw-collapsed"> | ||
[[File:Icon_for_type_SystemUI_New.png|250px]]<span style="font-size:180%;">'''SystemUI New'''</span> | [[File:Icon_for_type_SystemUI_New.png|250px]]<span style="font-size:180%;">'''SystemUI New'''</span> | ||
| − | <div class="mw-collapsible-content">{{Template: | + | <div class="mw-collapsible-content">{{Template:PTZ_Pan_SystemUI_NewGUI}}</div> |
</div> | </div> | ||
<div class="toccolours mw-collapsible mw-collapsed"> | <div class="toccolours mw-collapsible mw-collapsed"> | ||
[[File:Icon_for_type_WebUI_Old.png|250px]]<span style="font-size:180%;">'''WebUI Old'''</span> | [[File:Icon_for_type_WebUI_Old.png|250px]]<span style="font-size:180%;">'''WebUI Old'''</span> | ||
| − | <div class="mw-collapsible-content">{{Template: | + | <div class="mw-collapsible-content">{{Template:PTZ_Pan_WebUI_Old}}</div> |
</div> | </div> | ||
<div class="toccolours mw-collapsible mw-collapsed"> | <div class="toccolours mw-collapsible mw-collapsed"> | ||
[[File:Icon_for_type_WebUI_New.png|250px]]<span style="font-size:180%;">'''WebUI New'''</span> | [[File:Icon_for_type_WebUI_New.png|250px]]<span style="font-size:180%;">'''WebUI New'''</span> | ||
| − | <div class="mw-collapsible-content">{{Template: | + | <div class="mw-collapsible-content">{{Template:PTZ_Pan_WebUI_New}}</div> |
</div> | </div> | ||
<div class="toccolours mw-collapsible mw-collapsed"> | <div class="toccolours mw-collapsible mw-collapsed"> | ||
[[File:Icon_for_type_SmartPSS.png|250px]]<span style="font-size:180%;">'''SmartPSS'''</span> | [[File:Icon_for_type_SmartPSS.png|250px]]<span style="font-size:180%;">'''SmartPSS'''</span> | ||
| − | <div class="mw-collapsible-content">{{Template: | + | <div class="mw-collapsible-content">{{Template:PTZ_Pan_SmartPSS}}</div> |
| − | |||
| − | |||
| − | |||
| − | |||
| − | |||
</div> | </div> | ||
<div class="toccolours mw-collapsible mw-collapsed"> | <div class="toccolours mw-collapsible mw-collapsed"> | ||
| − | [[File: | + | [[File:Icon_for_type_DSS_Express_S.png|250px]]<span style="font-size:180%;">'''DSS Express'''</span> |
| − | <div class="mw-collapsible-content">{{Template: | + | <div class="mw-collapsible-content">{{Template:PTZ_Pan_DSS_Express}}</div> |
</div> | </div> | ||
Latest revision as of 22:42, 1 April 2021
Pan
Description
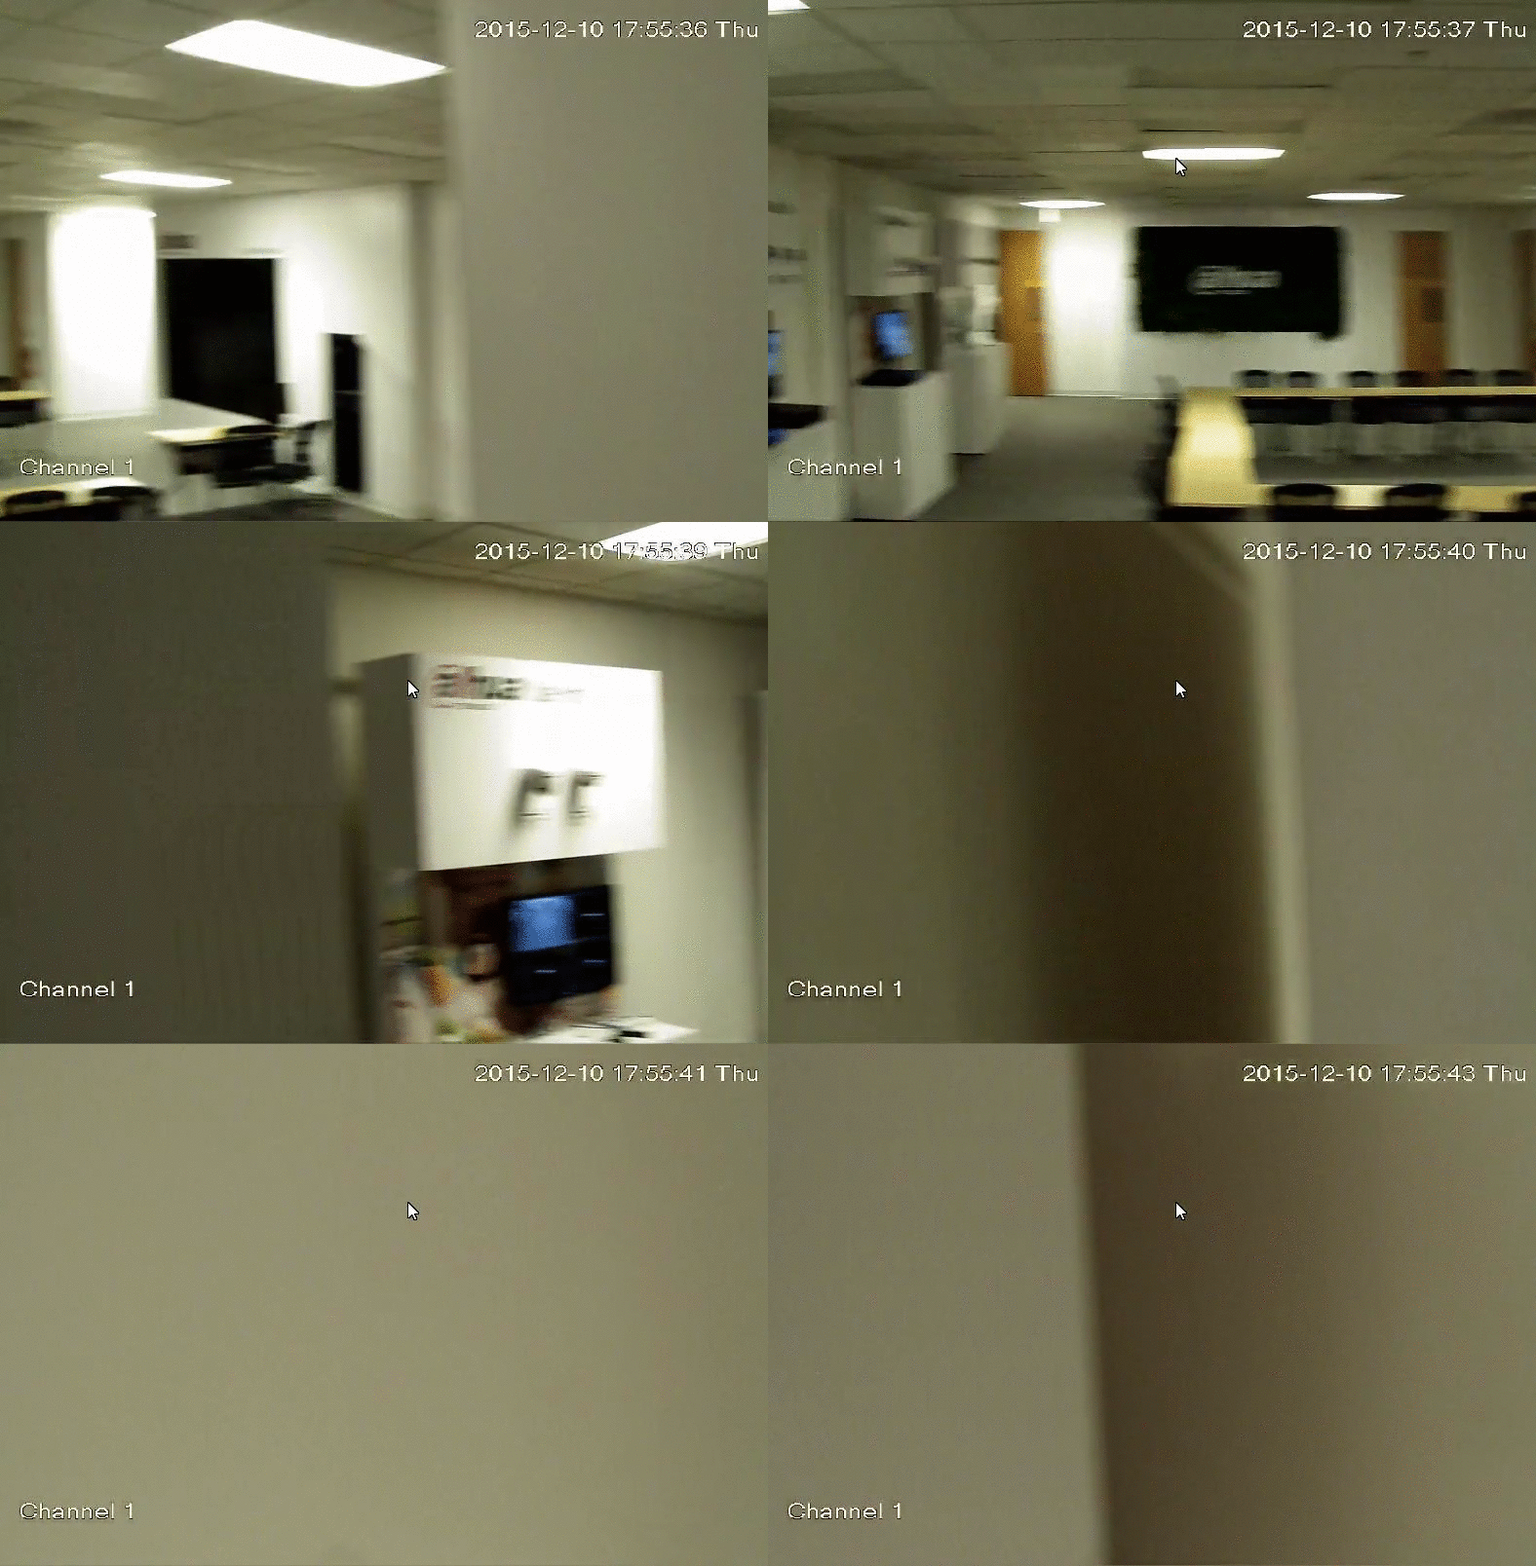
The Pan feature allows the PTZ to move between two pre-established points.
NOTE
Please Note: PTZ Pan is currently not available on the following interface:
- Mobile: iDMSS/gDMSS
Instructions
How to Setup Pan via Old SystemUI
Prerequisites
- Dahua recorder
- VGA or HDMI monitor
Video Instructions
Step by Step Instructions
1. Click on PTZ to bring out PTZ menu.

2. Click on the right arrow to expand the function list.

3. Click "AutoPan" to start the horizontal pan function, and press the same button again to stop.

How to Setup Pan via New SystemUI
Prerequisites
- Dahua recorder
- VGA or HDMI monitor
Video Instructions
Step by Step Instructions
1. Click on PTZ to bring out PTZ menu.
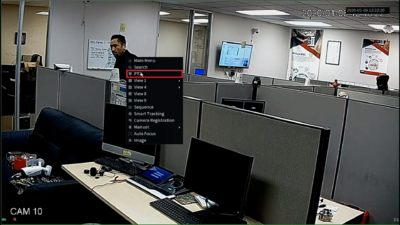
2. Click on the right arrow to expand the function list.

3. Click "AutoPan" to start the horizontal pan function, and press the same button again to stop.

How to Setup Pan
Prerequisites
- Dahua Network PTZ
- IP Address of Network PTZ
- Internet Explorer
Video Instructions
Step by Step Instructions
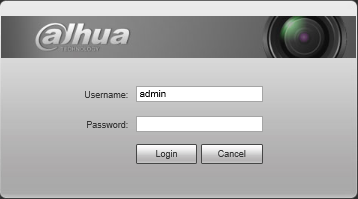
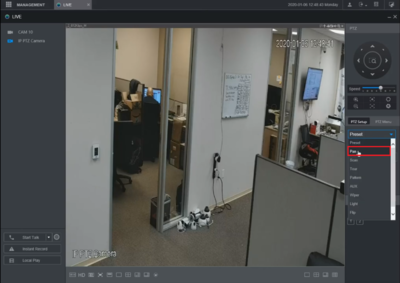
1. Login to your IP Camera via Internet Explorer.
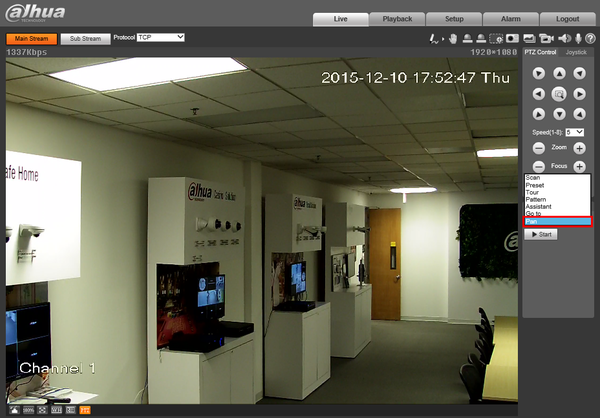
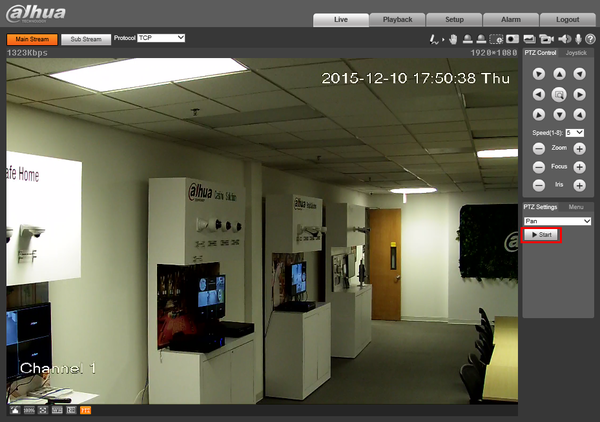
2. On the right hand side click, "PTZ Settings" and make sure, "Pan" is selected in the drop down menu.
3. Click, "Start"
How to Setup Pan via SmartPSS
Prerequisites
- Dahua Network PTZ
video Instructions
Step by Step Instructions
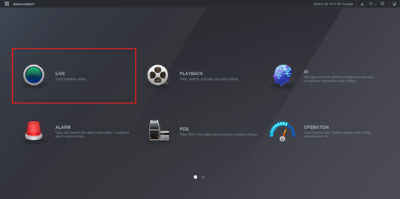
1. After opening SmartPSS, select "Live View".

2. Locate the camera from the list, drag and drop it into one of the camera grids.

3. Expand the list "More Functions" and select "Pan".
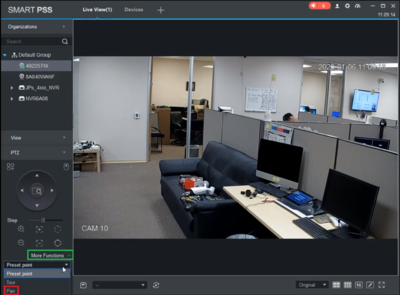
4. Press the "Start" button to start the pan and press it again to stop.

How to Setup Pan via DSS Express S
Prerequisites
- DSS Express S installed on the computer
Video Instructions
Step by Step Instructions
1. Open "Live View", drag/drop the camera to the grid, and click on the up arrow towards the bottom to bring up the PTZ menu.

2. Expand the function list by clicking on the 3 dots icon.
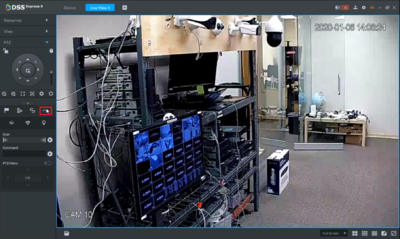
3. Click "Start rotate" to initiate the pan action, press again to stop the pan action.

