Difference between revisions of "Fisheye/HD CVI Fisheye Dewarp"
| Line 40: | Line 40: | ||
*Client Side Dewarp | *Client Side Dewarp | ||
| + | 1.Open Software and select live view | ||
| + | |||
| + | [[File:selectliveview.png|500x500px]] | ||
| + | |||
| + | 2.Expand recorder and double click camera | ||
| + | |||
| + | [[File:expanddvrselectcam.png|500x500px]] | ||
| + | |||
| + | 3.Select PTZ from the menu on the left | ||
| + | |||
| + | [[File:selectptz1.png|500x500px]] | ||
| + | |||
| + | 4.Select PTZ menu | ||
| + | |||
| + | [[File:selectptzmenu.png|500x500px]] | ||
| + | |||
| + | 5.Select open menu | ||
| + | |||
| + | [[File:selectopenmenu.png|500x500px]] | ||
| − | |||
| − | |||
[[Category:HDCVI]][[Category:FISHEYE]][[Category:CAMERA]][[Category:Internal]] | [[Category:HDCVI]][[Category:FISHEYE]][[Category:CAMERA]][[Category:Internal]] | ||
Revision as of 21:32, 6 March 2019
HD-CVI Fisheye Camera Information
Description
How To Dewarp your HDCVI Fisheye Camera
Dewarp Methods
- Onboard Dewarp via OSD
Prerequisites
- Monitor And Mouse connected to recorder
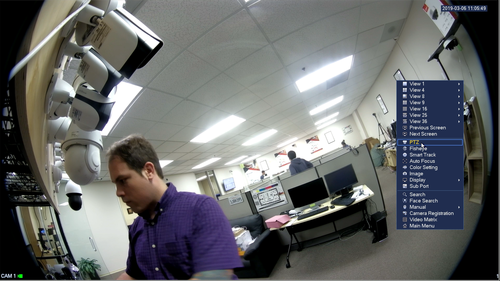
1. Right click and select PTZ
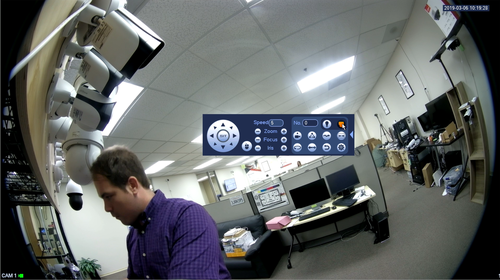
2. On the PTZ control menu select the arrow to the right to expand menu
3. Select Menu on the PTZ options
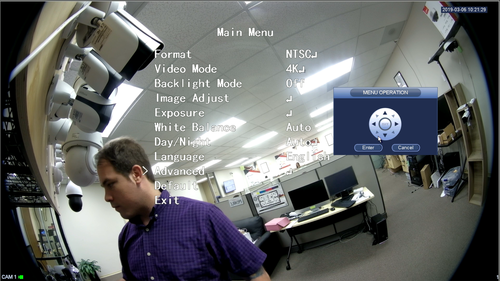
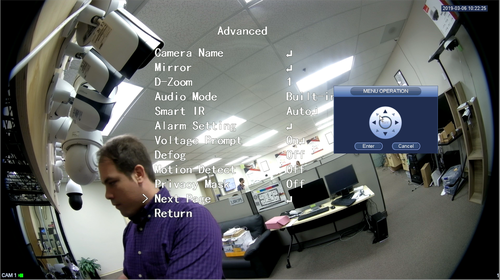
4. Using the arrows and enter button navigate to advanced and select enter
5. Navigate to next page and select enter
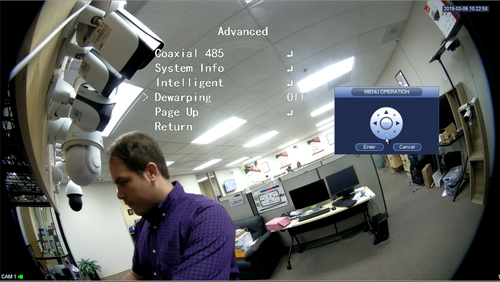
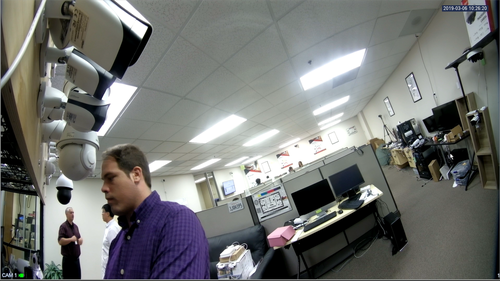
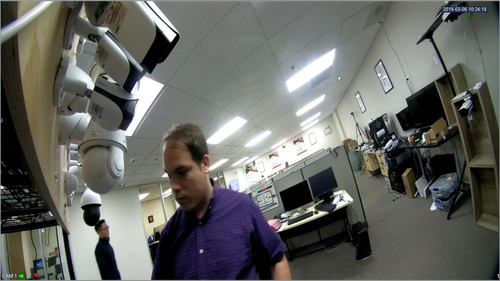
6.Navigate to dewarping and use left and right to select the different dewarp options
Here is what the different options look like:
- Client Side Dewarp
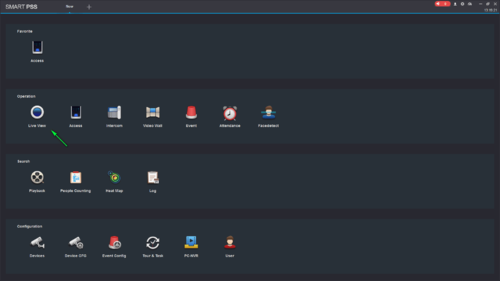
1.Open Software and select live view
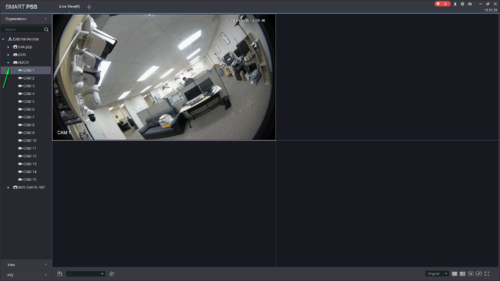
2.Expand recorder and double click camera
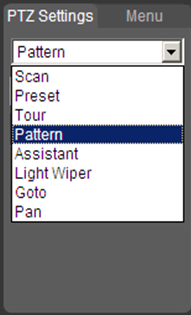
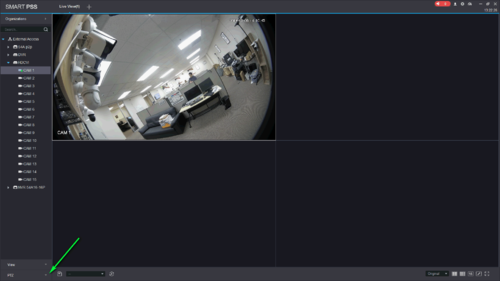
3.Select PTZ from the menu on the left
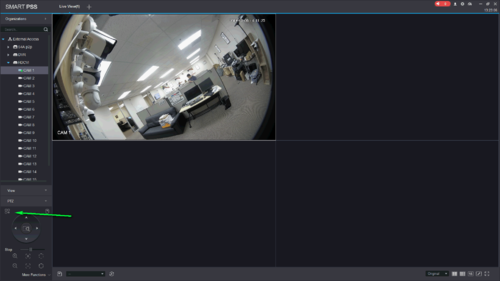
4.Select PTZ menu
5.Select open menu
